 Arkane Studios: Texturing Prey’s Retro-futuristic Visual Style
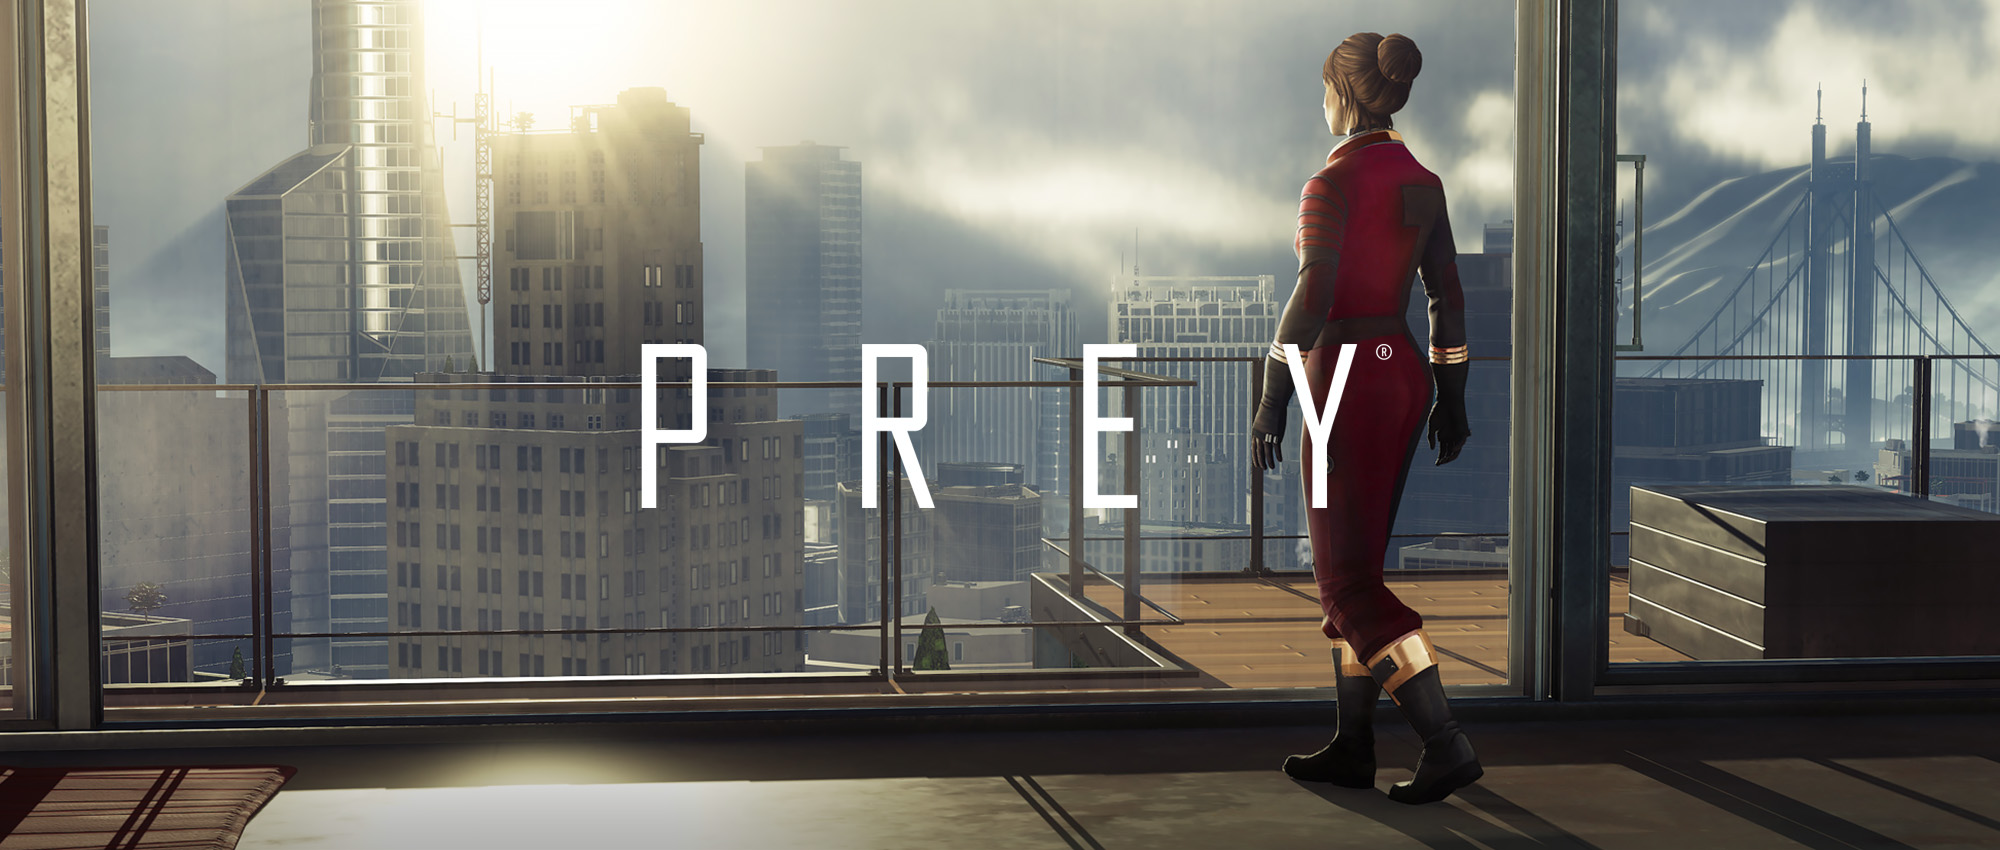
Last week Arkane Studios released the highly anticipated and visually stunning Prey. They were kind enough to share some parts of their texturing pipeline for the game, which features a retro-futuristic style.
Hi Eric, thanks for taking your time for this interview. Could you introduce yourself to the community?
Thanks for having me! My name is Eric Beyhl, and I’m the lead environment artist on Prey at Arkane Studios in Austin, Texas. Previously, I’ve worked on titles in the Lost Planet, Ninja Gaiden, and F.E.A.R. franchises, and in my spare time, I am really into pushing the limits of VR!
Before I came onboard, Arkane Studios had shipped the critically acclaimed Dishonored, where the visual bar was set unbelievably high by the incredible artists in our Lyon, France studio. One of my first responsibilities was to help assemble and lead a new environment art team in Austin as we geared up for our own project. Subsequently, it was also my responsibility to establish and execute our environment art pipeline with the new team on an engine with which we had limited professional experience.

How did you start using Substance on Prey?
We first considered Substance Designer in late 2013, after our fellow environment artists in Lyon gave us a few demos of what they had been experimenting with on their assets for Dishonored 2. Being developers in France, they had been familiar with Allegorithmic for some time. After that, our principal character artist (at the time) and I evaluated Substance Designer, and we decided to select it over the competitors in early 2014.
This was very early in production, and we were working to develop our own unique visual style for Prey, and what was apparent to us right from the get-go was that the node-based sandbox nature of Substance Designer allowed us to create a wide range of textures very quickly. This allowed us to explore and experiment with a lot of ideas. We started to hone in our style pretty quickly, and together with the use of Photoshop, really refined it over time to what you see today.
For which aspects of the game did you use Substance?
For environment art, we used Substance Designer. However, Substance Painter was used together with Substance Designer for characters and weapons.
Was your usage of Substance different or similar according to the types of asset you worked on (Environments/Characters/Weapons)?
I’ll let our character artist Billy Lord and weapons artist Tim Alexander explain their side before I sum it up:
Billy Lord [character artist, Arkane Austin] – Character assets vary greatly, although they all share a similar approach in technique. For character heads, I would start with a base skin material (spec and gloss) that I created and then layer on color in a traditional, hand painted method. Substance Painter’s layers and blending modes allowed me to work in a fluid, non-destructive way to add a unique look to each character while still maintaining a consistent style. For costumes, I loved having the ability to seamlessly (no pun intended) switch from Substance Designer to Substance Painter to edit the garment materials to suit not only art direction, but the game needs as well. The masking ability of Substance Painter is crucial to making decisions on the fly to test different material ideas. Without it, there would have been much more painful iteration.


Tim Alexander [weapons artist, Arkane Austin] – Substance Designer was useful in quickly setting up material foundations for several of the weapons in our game. Weapons went through a continually iterative process through the course of an aggressive schedule, so being able to make substantial changes quickly was of great importance. Both Substance Designer and Substance Painter allowed us to do that more effectively.
Eric Beyhl – The environment art team’s workflow was very similar to what Tim just described, which makes sense given that Tim and I were the first two artists to put Substance to work in production. We found that it was best to let the artists have the freedom to create their own base materials, especially early in the project.
Eric Beyhl – The environment art team’s workflow was very similar to what Tim just described, which makes sense given that Tim and I were the first two artists to put Substance to work in production. We found that it was best to let the artists have the freedom to create their own base materials, especially early in the project.

How did Substance help you achieve the retro-futuristic visual style of Prey?
The art style in Prey was accomplished through a combination of influences and factors such as modeling and architectural choices, but texture work proved to be one of the most important. While Dishonored’s painterly textures evoke oil paintings from the era the game is set in, Prey is influenced heavily by retro-futurist artists like the legendary Syd Mead. In these works, one of the many things that make them so interesting is that while the surfaces clearly feature noticeable brush strokes or pencil marks (enforcing that they are hand drawn), the material values are still quite realistic – especially on highly reflective metals and glass. This was ultimately our goal: hand painted/non-photoreal texturing with realistic material values.
We used a PBR pipeline which allows for very realistic materials, and Substance Designer allowed us to quickly create a range of Substances that were physically accurate but were also visually clean and without the “noise” or “splotchiness” that comes with most standard, photo-sourced PBR materials.
Internally we referred to the 80/20% dividing line – where Substance Designer would get you 80% of the way there – almost instantly – and the remaining 20% is where we’d apply most of the hand painted detailing and deliberately noticeable brush strokes in Photoshop (in the diffuse for non-metals, and gloss for metals.) “80/20” was just a saying, though, as sometimes we’d return to Substance during the final 20%, and with some Substance textures we were able to replicate some of our “hand painted” techniques in the graph that would get us beyond the “80%” starting point.
Could you make a breakdown and show us how you used Substance on one or several assets?
Using some of the art assets worked on by William Hewitt [senior environment artist, Arkane Austin], we put together a couple of examples that show our Substance usage, as well as a final, in-engine shot for comparison.
After getting all the bakes we need from our high poly sculpt, we begin to lay out the foundation of the asset by creating some basic materials for the asset.
In this case, the entire chair can be constructed with three materials: decorative leather, decorative wood, and brass:


If we take a closer look at one of the materials, the wood in this case, you’ll see a nice base created entirely in Substance Designer. We do the same for the other materials.


When creating these base materials, we usually exclude fine detail, such as texture, cracks, scratches, wrinkles, etc. Our focus is on the overall material values, the colors, and the variation. In the case of wood, we do include large detail like the wood grain, because we are able to achieve a ‘stylized’ version of it.
Separately, we create the fine details as new maps, which will be composited in Photoshop using hand painted masking techniques using custom made brushes. This leather texture is an example:
Separately, we create the fine details as new maps, which will be composited in Photoshop using hand painted masking techniques using custom made brushes. This leather texture is an example:


Because of Prey’s setting and our studio philosophy we don’t do things like dynamic/procedural wear or aging. We are strong believers in functional, targeted wear. To us, wear tells a story. Every bit of usage on an asset is deliberately hand selected, applied, or painted. Sometimes this is done with Substance where we layer on multiple details, and composite them together in Photoshop, but even then we use hand painted masks.

A simpler example is our Winged Lion statue which can be found adorning the main tower of Talos One’s main tower, which deliberately mirrors the look of a skyscraper. These statues act as gargoyles that overlook the rest of the station.
If these were actual metallic gargoyles on Earth one could expect oxidation, but in the oxygen deprived vacuum of space, this process does not occur. So, we were able to create a simple, gold material with soft blemishes in the gloss map to stylize it just enough. The sculpt takes care of the rest.
If these were actual metallic gargoyles on Earth one could expect oxidation, but in the oxygen deprived vacuum of space, this process does not occur. So, we were able to create a simple, gold material with soft blemishes in the gloss map to stylize it just enough. The sculpt takes care of the rest.


What were the main obstacles you overcame on this project with Substance?
Time was a big obstacle. Because we had a new team and a new engine on a new project – there were a lot of problems we had to solve. One of the most important was developing our own unique art style, and the speed of Substance allowed us to focus on other critical parts of the asset creation process, like modeling, sculpting, and hand touch-ups.
Are there any tips and tricks you would like to share with the community?
I think more important than any individual tip or trick is to understand exactly what the goal of your project is at key intervals, and allow the software to work for you. Substance offers a LOT of function, so use only what you need – and don’t force what you don’t – until you are ready.
For example, we originally created a full library of common (but generic) Substance textures before we had truly established our ‘style,’ let alone before we could even use it to create assets. Unsurprisingly, the library grew obsolete very quickly.
In practice, everyone started to use Substance on individual assets when they felt it was necessary. Some Substance textures were shared and collectively improved upon as we developed, but we never went back to using the centralized Library features. Once the project ended and we had a moment to breathe, we immediately dusted off our library and updated it with the many individual Substance textures we had created. Now everyone on the team has access to the entire Library. We also have a pipeline so we can curate new additions as well as ensure it stays current.


What is your favorite feature in Substance Designer/Substance Painter?
Eric Beyhl: For me, the baking tools. They are fast, look great and are customizable. Having everything linked right there in your Substance project is so convenient. Also, not having to explode your mesh is such a time saver!
Billy Lord: Dynamic up-res. It’s nice to work at a lower res to help your system and to not be bound to the starting resolution is AMAZING!
What is the next feature you would like to see in Substance Designer/Substance Painter?
Tim Alexander: a CLONE tool in Substance Painter. Would be super helpful to be able to paint over imperfections in seams with a tool like Photoshop’s clone stamp.
Eric Beyhl: A closer representation of CryEngine’s rendering in the 3D viewport out of the box. I assume because Substance isn’t natively integrated like other engines, we couldn’t ever get the look of the substance viewport to be 100% the same as how things looked in engine. It was close, but there are noticeable differences. We were able to overcome these differences with a little bit of Photoshop correction, and after doing it a few times it became second nature, but it would be nice to not have to do so. We’re currently experimenting with importing a custom shader and environment cube maps to try to alleviate this difference.
A last word?
As you can probably tell, I am incredibly proud of what our art team at Arkane Austin achieved on Prey. I really look forward to seeing what our fans think about the style and substance we were able to inject into the amazing world of Talos I (unlike Billy, I intended that pun!). I am also thankful that we had software like Substance Designer and Substance Painter to help us accomplish what we set out to do when we began this journey.
A big thanks to the team at Arkane Studios, Austin and congrats for the release of Prey!